ListView Widget
ListView is the most commonly used scrolling widget. It displays its children one after another in the scroll direction. In the cross axis, the children are required to fill the ListView.
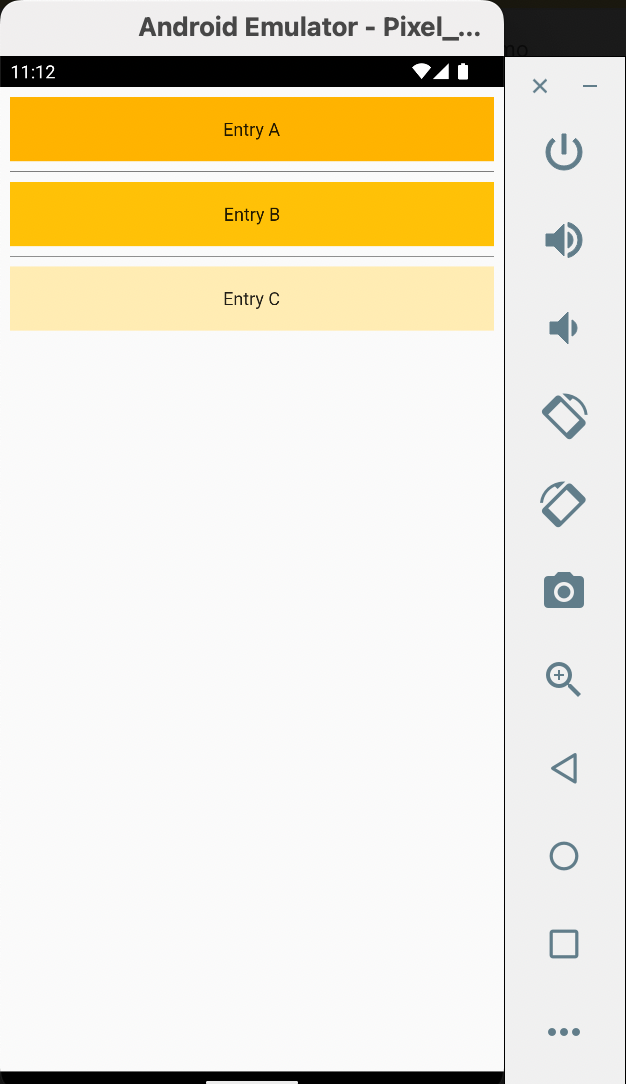
In this lesson, let's kick off by putting three Widgets within a list. The widgets, as seen in the app output, will stretch horizontally to fill the cross axis.
import 'package:flutter/material.dart';

void main() {
  runApp(const MaterialApp(
    debugShowCheckedModeBanner: false,
    home: MyApp(),
  ));
}

class MyApp extends StatelessWidget {
  const MyApp({super.key});

  @override
  Widget build(BuildContext context) {
    return SafeArea(
        child: Scaffold(
            body: ListView(
      padding: const EdgeInsets.all(8),
      children: <Widget>[
        Container(
          height: 50,
          color: Colors.amber[600],
          child: const Center(child: Text('Entry A')),
        ),
        Container(
          height: 50,
          color: Colors.amber[500],
          child: const Center(child: Text('Entry B')),
        ),
        Container(
          height: 50,
          color: Colors.amber[100],
          child: const Center(child: Text('Entry C')),
        ),
      ],
    )));
  }
}
However, for most part of list generation in an application in practical situations, we'd have to use dynamic data. Hence, ListView.builder would be most essential.

So, onto recreating the above codebase using 'externally acquired list' and a ListView.builder, the result becomes:
// ...
class MyApp extends StatelessWidget {
  const MyApp({super.key});

  @override
  Widget build(BuildContext context) {
    final List<String> entries = <String>['A', 'B', 'C'];
    final List<int> colorCodes = <int>[600, 500, 100];
    return SafeArea(
        child: Scaffold(
            body: ListView.builder(
                padding: const EdgeInsets.all(8.0),
                itemCount: entries.length,
                itemBuilder: (BuildContext context, int index) {
                  return Container(
                    height: 50,
                    color: Colors.amber[colorCodes[index]],
                    child: Center(
                      child: Text('Entry ${entries[index]}'),
                    ),
                  );
                })));
  }
}
Sometimes, you might need a separator between the widgets in list generated. This can be done using ListView.separated and then passing a property called separatorBuilder, with the widget you want as a separator returned. In this case, I used a Divider
// ...
body: ListView.separated(
  padding: const EdgeInsets.all(8.0),
  itemCount: entries.length,
  itemBuilder: (BuildContext context, int index) {
    return Container(
      height: 50,
      color: Colors.amber[colorCodes[index]],
      child: Center(
        child: Text('Entry ${entries[index]}'),
      ),
    );
  },
  separatorBuilder: (context, index) => const Divider(
    color: Colors.black,
  ),
)
// ...