Row Widget
Row and Column widgets are used when we want to align widgets horizontally and vertically
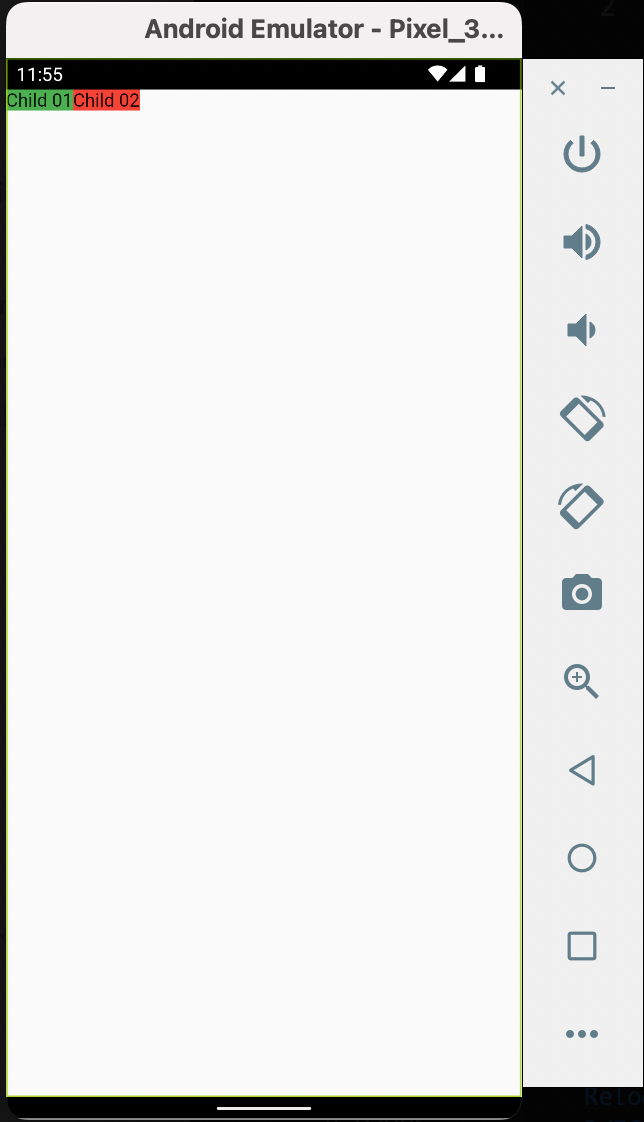
Let's start with Row widget:
Let's start with Row widget:
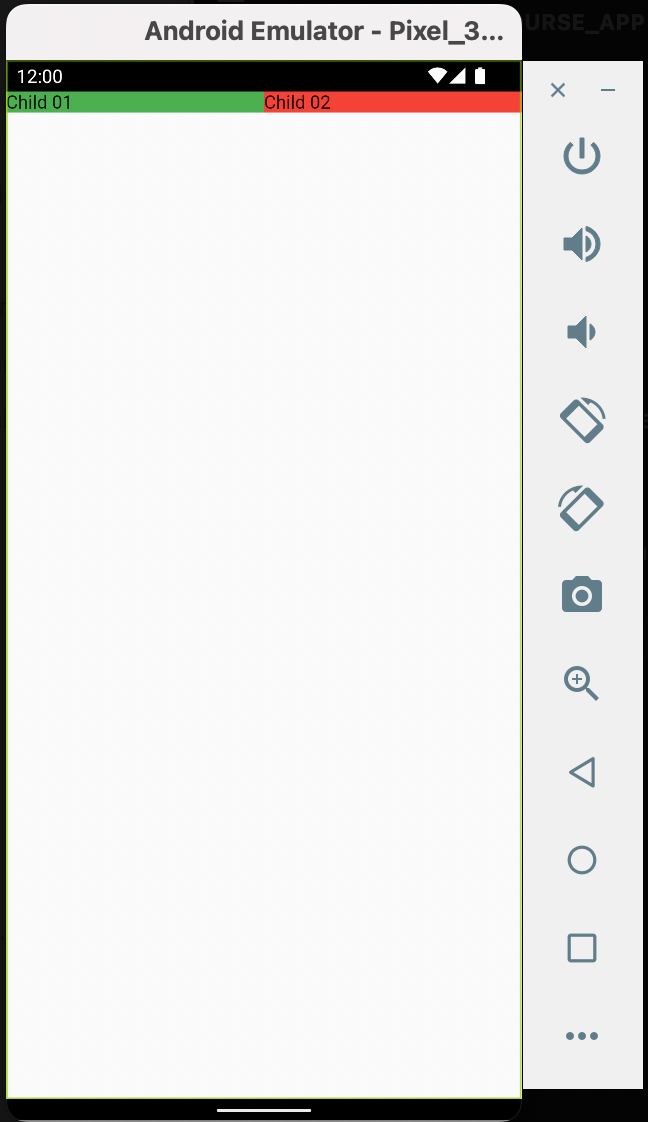
If you want them to stretch uniformly to occupy the available space, you use the Expanded widget. If you want, let's say, one widget to be like 20% and the other 80%, then the former will be assigned flex: 1 parameter in the Expanded widget and the latter will be assigned flex: 4. By default, both have flex: 1, hence both are same widths.
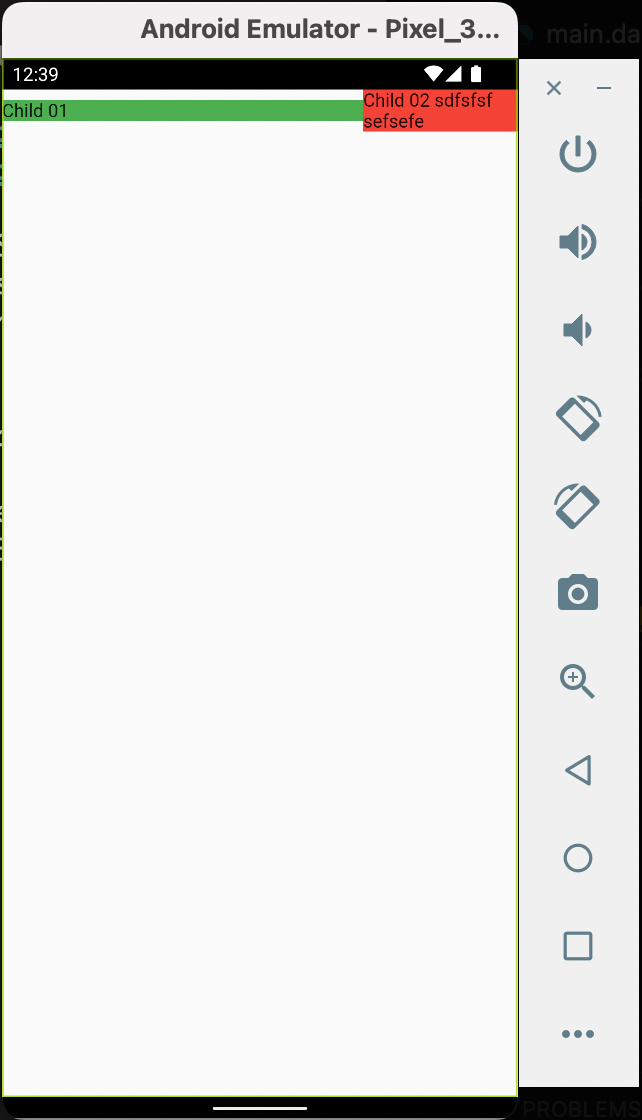
Okay, nice! Now let's take an instance where we have two containers in a row. We've defined the width for the first one. We haven't done so for the second. But due to the content of the second widget, there's an overflow on the screen for that particular widget.
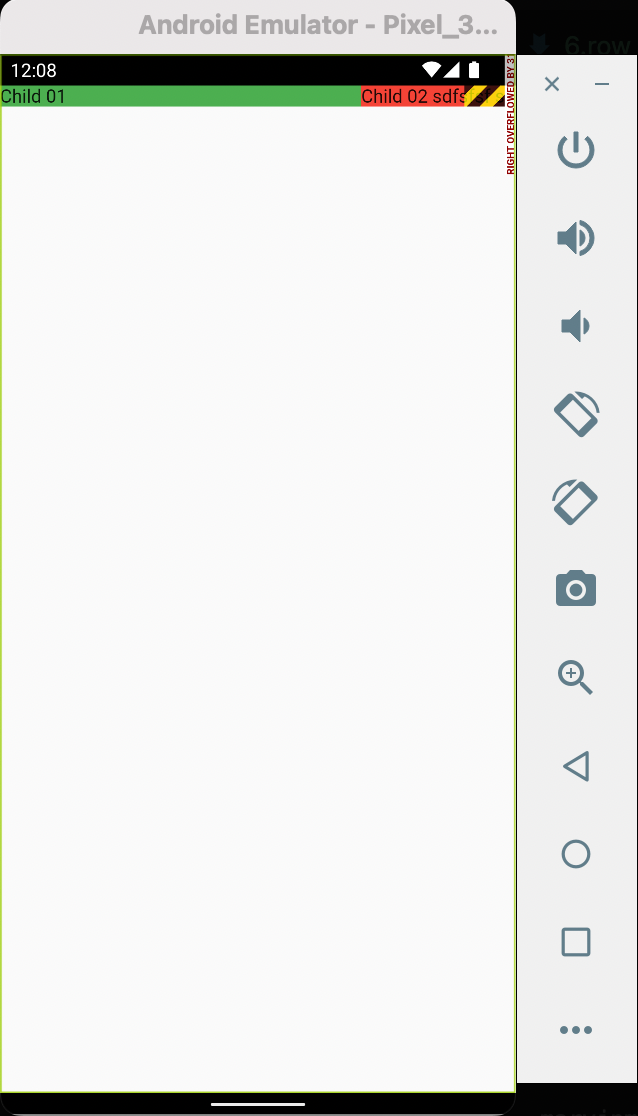
Expanded will most definitely be helpful here on the second widget as it will constrain it to the available remaining space. Also Expanded can be used when the other widgets have defined widths and so you want a particular widget to occupy the remaining available space.
Other options which I've talked about in the next lessons are SingleChildScrollView and Wrap
Other options which I've talked about in the next lessons are SingleChildScrollView and Wrap
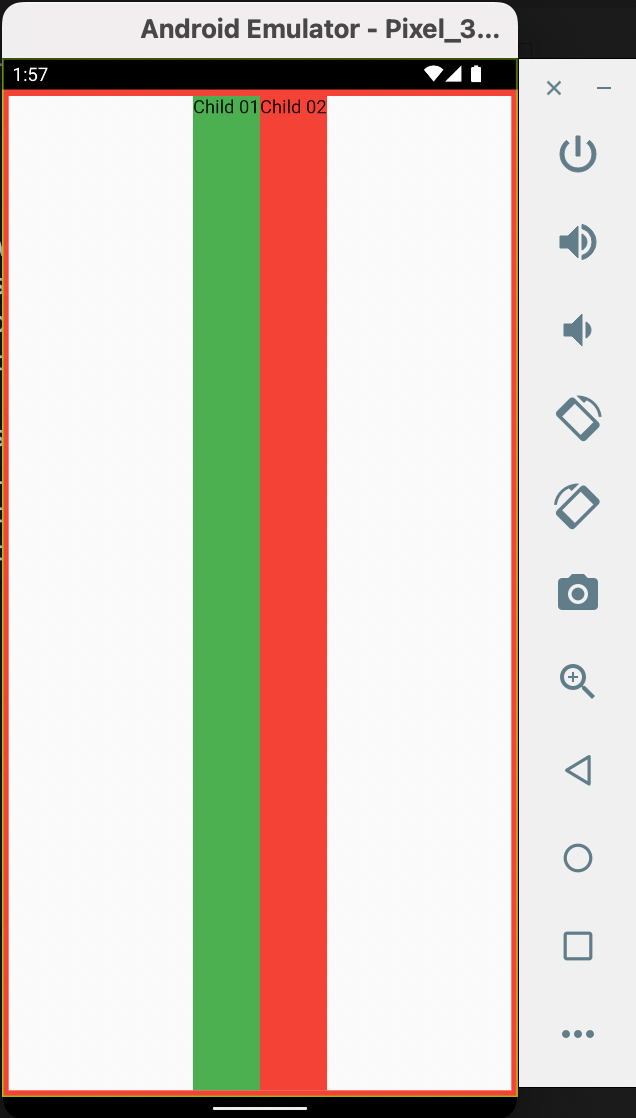
Now, let's change our codebase a bit so that we can introduce MainAxisAlignment and CrossAxisAlignment. The MainAxisAlignment deals with aligning child widgets horizontally while the CrossAxisAlignment deals with aligning items on the y-axis.
In the code we'll write, we have to wrap the Row widget in Container with height of screen because by default, a Row widget is only constrained in height to its contents height and no more. If you only need the height and width attributes, instead of Container, use a SizedBox widget
Enum attributes :
MainAxisAlignment ~ start, center, end, spaceEvenly, spaceAround, spaceBetween
CrossAxisAlignment ~ start, center, end, stretch, baseline